While I use a combination of Lightroom and Photoshop for my editing, there are tools I use in Lightroom that make my workflow go a million times quicker. Essentially, Lightroom is for my base editing such as white balance, exposure and a few other tweaks; Photoshop is for my more fine tune editing such as skin retouching, any creative toning I do and some steps I take to get my finishing look. Regardless, I couldn’t do what I do without Lightroom!
Match Total Exposures
When I found out about this, I couldn’t believe it! I found this out when I was shooting event photography during college. I highly recommend not shooting event photography if you can help it, but it was college and I preferred not eating cheap college food all the time!
Match Total Exposures, which can be found under your Settings drop-down menu in the Develop Module, allows you to take one image that has proper exposure and apply it to other images in the set! All you have to do is edit the exposure for one image that looks how you want all of your photos from the set to look, select the other photos in the set while holding down shift or command (control on PC), and click Match Total Exposures! Lightroom will then do its best to match the exposure across all of those images using the main selected image as a reference.
My biggest advice when doing this across photos is to make sure that you’re in the same location and lighting locations. In example, if you have one outfit in the same location, but some are backlit and some are not, you’ll want to apply Match Total Exposure for across the backlit and non-backlit images separately. This works the best in my experience and results in images that don’t need a ton of tweaking after the fact.
Lens Correction & Chromatic Aberration
For all of my photos, I always have this turned on. In your Develop module, you’ll be able to select for removing chromatic aberrations and enabling profile correction. Especially when shooting backlit, you may experience some green or purple fringing in your photos and you’ll want to remove this.
Without getting too geeky on you guys, chromatic aberration occurs from your lens not being able to focus the light perfectly. As you may remember from your high school physics or chemistry classes, white light contains all of the colors in the spectrum. Green and purple light both have different wavelengths and are more difficult to get to converge on the same part of the sensor. This results in that slight purple/green fringe you sometimes see.
With the profile correction, some lenses will vignette quite a bit or you may see some distortion. This is going to be more evident on lenses that are wide such as a 35mm lens. It can result in images that are either too dark on the edges of the frame or aren’t flattering for your subject if parts of them look distorted.
To correct both of these, you’ll want to head to the Lens Correction panel in your Develop module. For the Profile Corrections, I simply check this box and Lightroom is pretty good about loading your specific lens’ profile into Lightroom and adjusting for this. The Remove Chromatic Aberration does an okay job sometimes, but often times I will come into the manual panel and adjust it. You may need to refine the color range that you’re telling Lightroom to use to take our fringing.
These both can be done in Photoshop, but it is much easier to apply across multiple images by adjusting one and then syncing across others.

Contact Sheets for Ordering Sessions
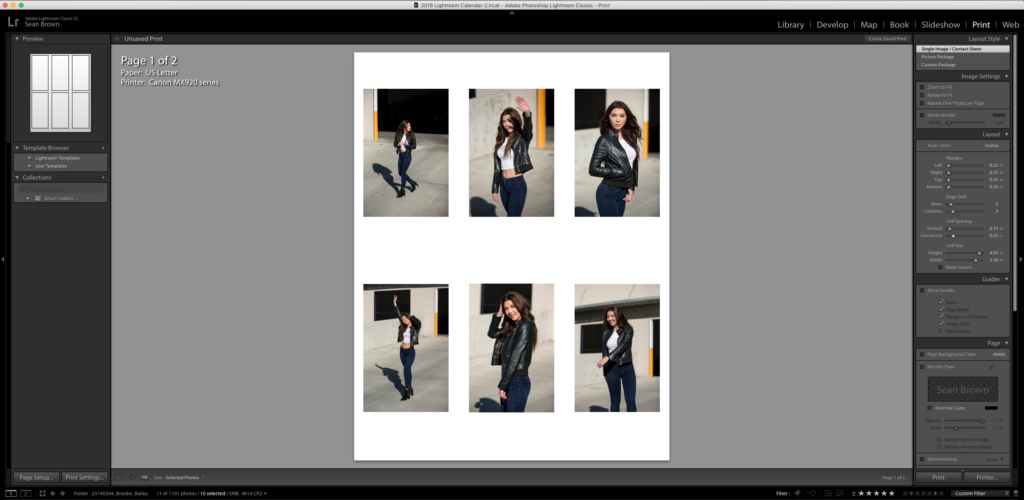
While this isn’t an editing tip, this is something that I do for every single in-person sales session. A contact sheet is a sheet, or multiple sheets, with all of your client’s images shown. These are small and include the file name. In the Print module, I select the Single Image/Contact Sheet option and choose all of the images that I want included in this. You can choose how many images per sheet, how spaced out they are and more. I then print this and bring this as a tool for my clients to use when they’re going through and picking out their senior photos! They can mark these up, write which products each image is for and more. This makes sure that they have a way to know which images they have selected for products already and which of their favorite images they haven’t used in their product designs.
These are the aspects of Lightroom that I use for every senior session. It helps speed up my workflow tremendously and can’t begin to think about going back to times before I had Lightroom.


Be the first to comment